Included Tools
Pliers • Jump Rings • Charms • Necklace or Bracelet Chain • Digital Instructions • Jewelry Bag
1️⃣ Choose Your Base
Choose which piece you want to do first — bracelet or necklace — and let the fun begin!
Try your chain on to find your perfect length, then locate the center point — that’s where you’ll start building your piece and work outward from there.
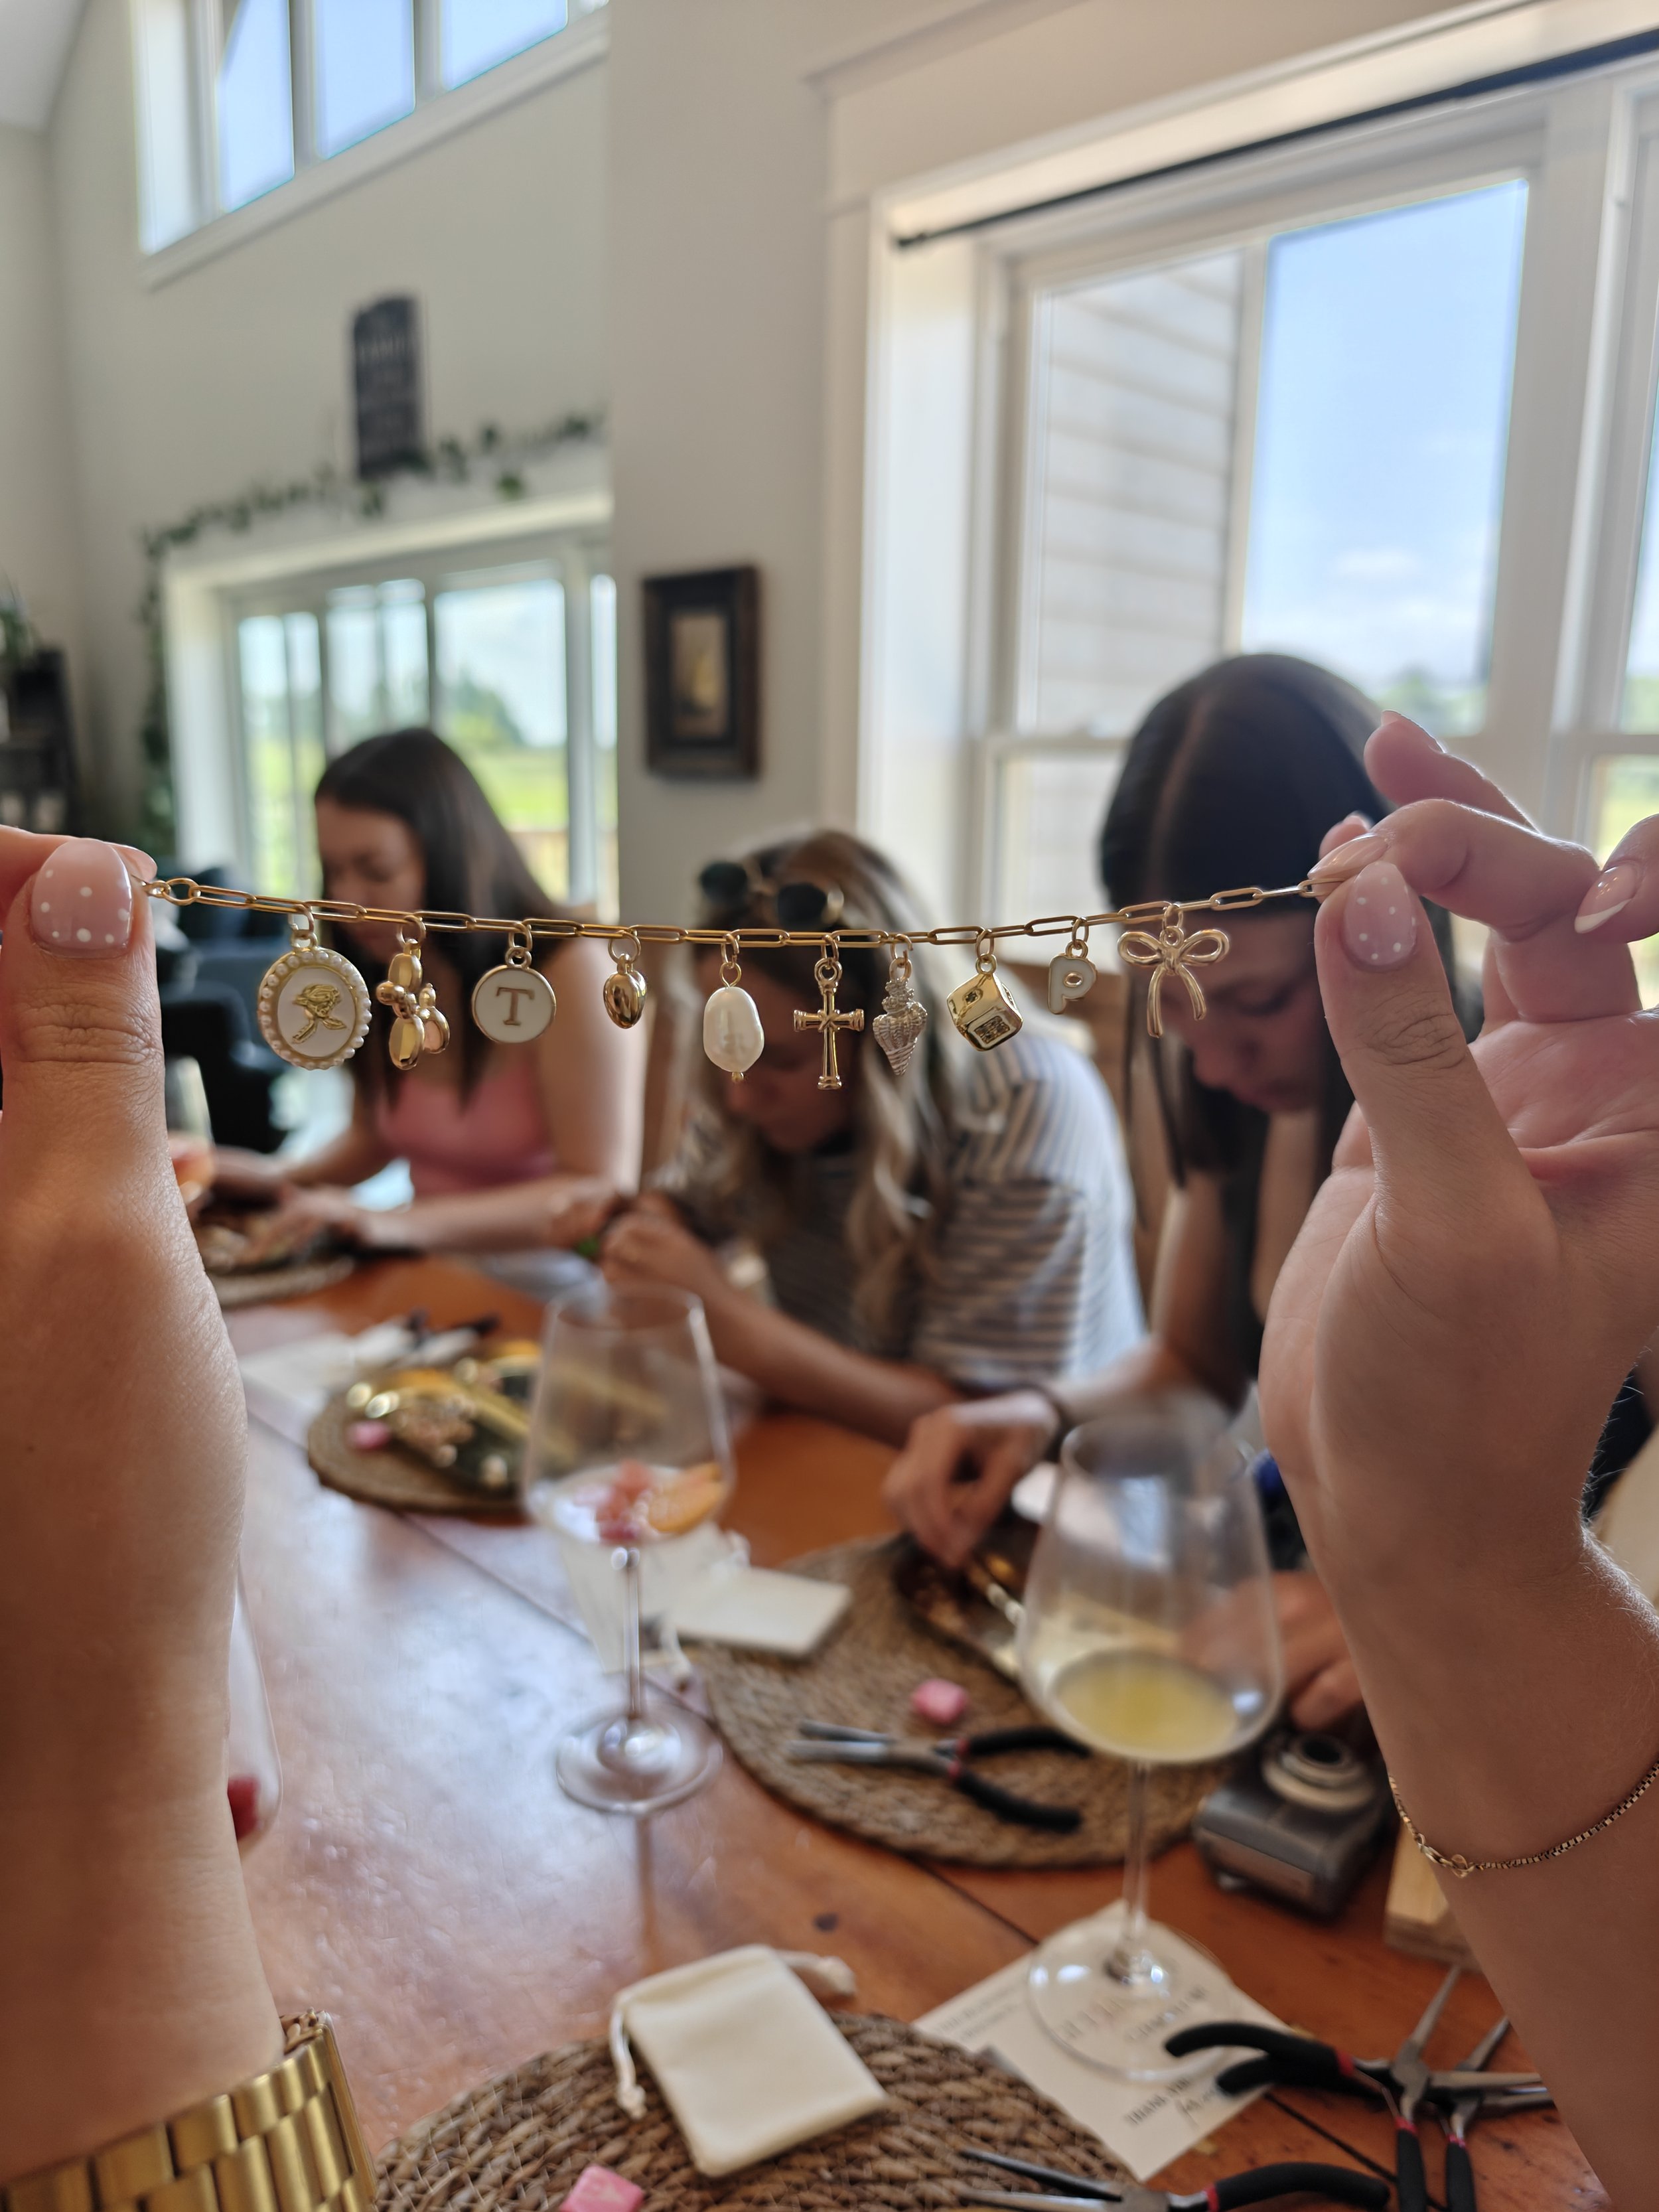
2️⃣ Select Your Charms
Spread out your charms and see what speaks to you.
Mix textures, metals, and meanings — go with what feels good.
3️⃣ Design Your Layout
Lay your chain flat and play with charm placement.
✨ Tip: For the most balanced look, place your largest charm in the center and arrange the rest evenly on each side. Odd numbers of charms (5, 7, 9, etc.) always look best. Skip at least one link between the charms.
For a polished look, we suggest 9–12 charms for a necklace, but your bracelet can be as simple or stacked as you like!
4️⃣ Attach the Charms
Use your pliers and jump rings to connect each charm.
💡 Tip: Always attach charms through the bottom link of the chain so they hang flat and face forward.
As you go, keep checking that each charm is facing the right way before closing your jump ring.
How to Open & Close a Jump Ring
Hold one side of the ring firmly with your pliers, and the other with your fingers (or a second pair of pliers if you prefer).
Open: Twist the ends side to side — never pull them apart. Think of it like opening a door, not stretching a circle.
Add: Slide your charm onto the open ring, then hook it through a chain link.
Close: Twist the ends back until they touch — you’ll feel a little click when it’s perfectly aligned.
✨ Pro Tip: Slightly over-twist past center, then return to alignment so the ends meet seamlessly — no gaps.
Don’t stress if a ring slips or bends — it happens! We’ve included extras. Take your time and have fun with it.
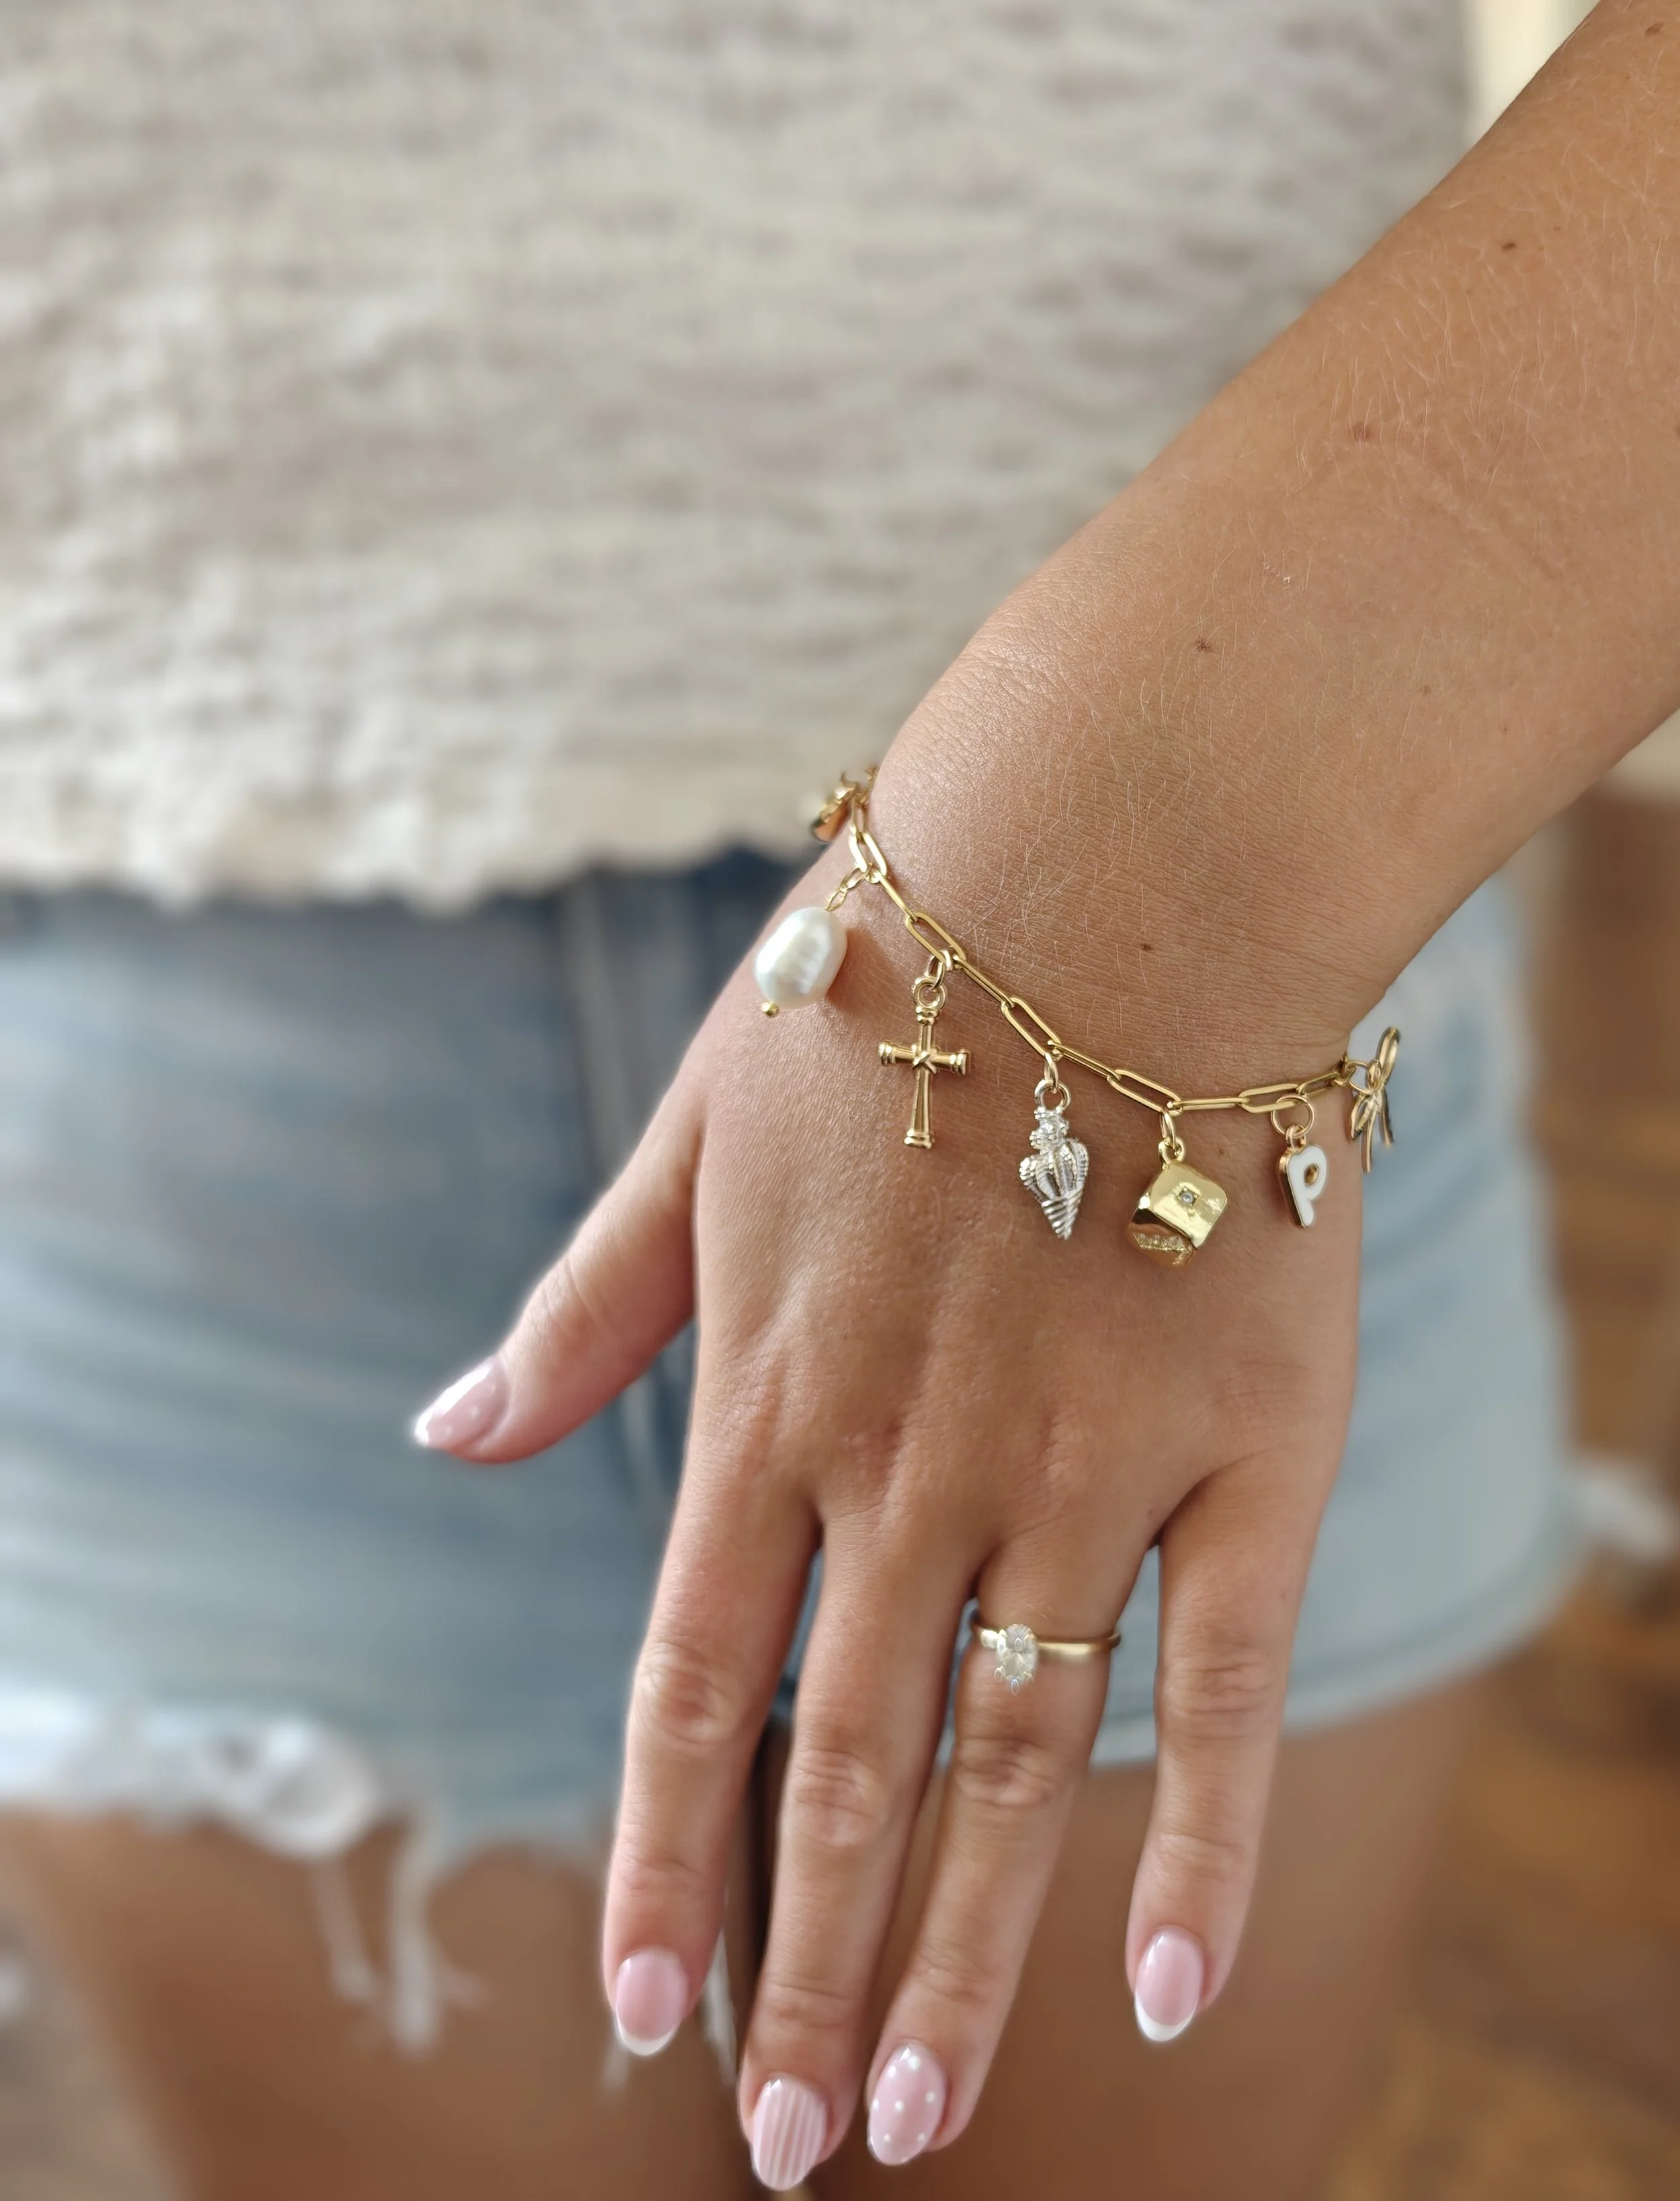
5️⃣ Finishing Touches
Double-check that every ring is secure, then hold up your masterpiece.
It’s uniquely yours — full of intention and style.
💡 Want to switch things up later? You can always open a jump ring and swap or add new charms anytime — your jewelry can evolve with your story.
6️⃣ Wear It With Love ✨
Your custom piece is ready to shine — made by you, for you.
Tuck it safely into your included jewelry bag when you’re not wearing it — or gift it to someone special!
INSTRUCTIONS FOR CREATING YOUR OWN
CHARM BRACELET OR NECKLACE